Remove the Bottom Stop from the Zipper
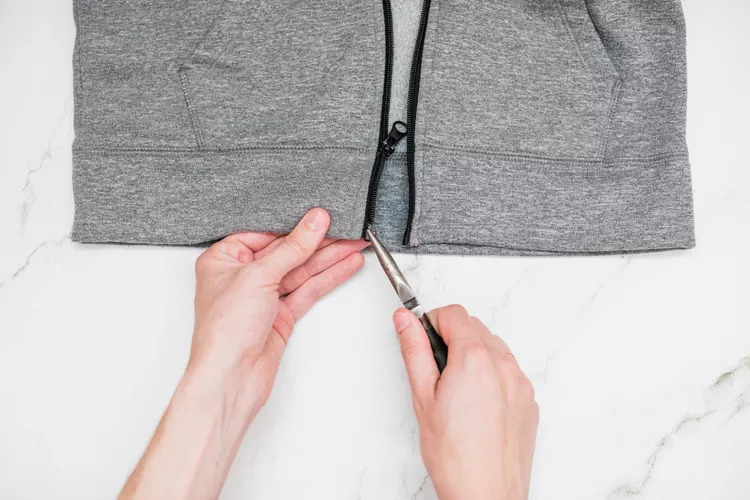
Using the pliers to get a good grip, pry off the zipper’s bottom stop or the little band of metal or plastic at the bottom of the zipper teeth. (If you don’t have pliers, you can usually pry it off with a flathead screwdriver or the end of a kitchen knife.)

Position the Zipper Pull
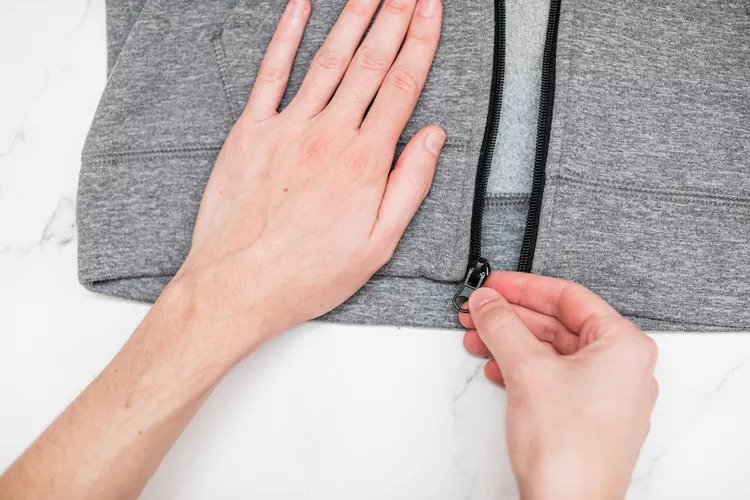
Once the metal or plastic stop is removed, use the pull tab to move the zipper slider all the way to the bottom of the zipper, below the last “teeth.”

Realign the Zipper Teeth
Realign the zipper teeth so that they all mesh smoothly. If you can’t get them to all mesh smoothly, mark the spot where there is a problem aligning the teeth. The teeth may be damaged at that spot and will never align properly.
:max_bytes(150000):strip_icc():format(webp)/how-to-fix-a-broken-zipper-2145771-06-f4c3bb91713444cea611d520621826a3.jpg)
Reposition the Zipper Pull
Move the slider up to the top of the zipper, closing as many teeth as possible.
:max_bytes(150000):strip_icc():format(webp)/how-to-fix-a-broken-zipper-2145771-07-bc44a45963a1457bbd44fbdaa1678255.jpg)
Thread the Sewing Needle
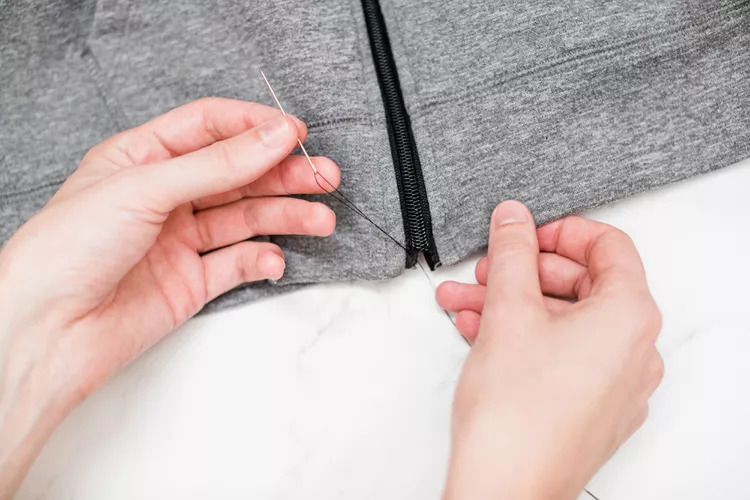
Thread the sewing needle with heavy thread or fine-weight monofilament fishing line and tie a knot at the end. If you don’t have heavy (buttonhole) thread, double the thread and then tie the knot at the end of both strands.
:max_bytes(150000):strip_icc():format(webp)/how-to-fix-a-broken-zipper-2145771-08-cbb9a2c39fb14594950da6f8daef8660.jpg)
Create a New Zipper Stop
Pull the thread up through the zipper leaving the knot on the wrong side of the zipper. Make six or seven stitches across the bottom of the zipper where you removed the old stop to create a new stop made out of the thread.

Repair Above Damaged Teeth
If the teeth of the zipper are damaged higher on the zipper, move the pull slider above the damaged area and sew the new stop just above the damaged teeth. This will shorten the length of the zipper but will make it stay closed. You may need to whipstitch over the lower part of the zipper teeth to keep the zipper from gaping open.
:max_bytes(150000):strip_icc():format(webp)/how-to-fix-a-broken-zipper-2145771-10-72d4eba3e1cc44fdbfe9a6f396dc2454.jpg)
Secure Thread
When you have finished sewing, push the needle to the wrong side of the zipper, tie a knot, and snip off any excess thread.
:max_bytes(150000):strip_icc():format(webp)/how-to-fix-a-broken-zipper-2145771-11-083ff8f27b184518a320e5c6a45faa7c.jpg)


